
If I have to be honest, I think since 2003 I no longer use any CD / DVD at all. Until then, every time I wanted to install a heavy program or an entire operating system, I did so by burning it to a DVD, but it didn't take long for me to discover that there were ways that allow us to carry out the entire process without removing the software from the computer or recording it on a USB stick . If, like me, you do not want to use a DVD to install an operating system, the best is create a bootable USB.
In this guide we will explain how to create a Bootable USB so that we can install Windows, Mac and Linux from a pendrive. The methods explained in this post are the ones that I usually use and I use them because they seem the simplest to me. I know that they can be created using other software (such as Ultra ISO), but what I am about to explain seems to me to be within the reach of any user, no matter how inexperienced they may be.
How to create a Windows Bootable USB
Although it can be done in different ways, I think the best method is to use the tool WinToFlash. To avoid confusion, I am going to detail the steps to follow to create a Windows Bootable USB:
- Let's go to the WinToFlash page and we download it.
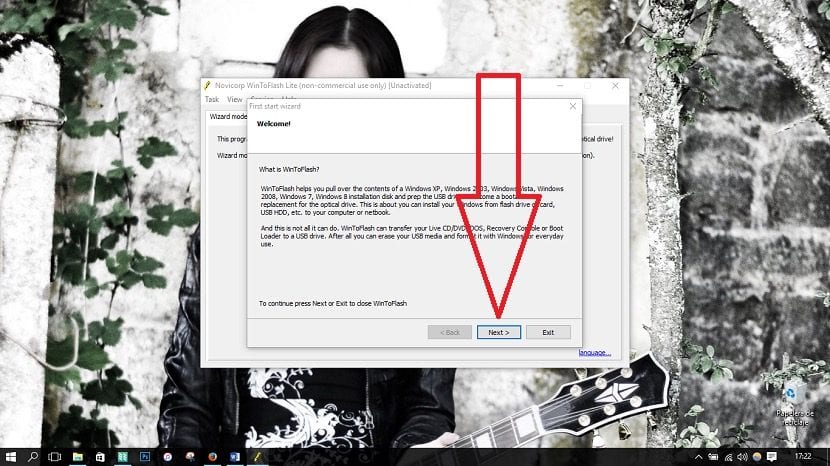
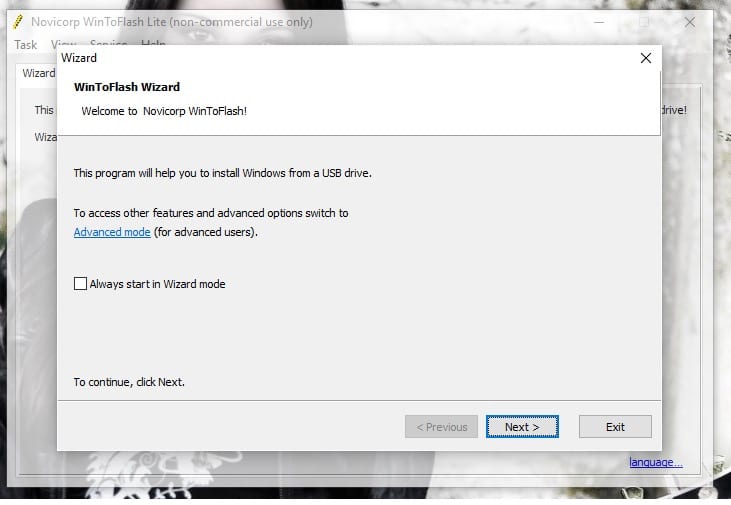
- We open WinToFlash. The first time we use it we will have to configure it, for which we click «Next».
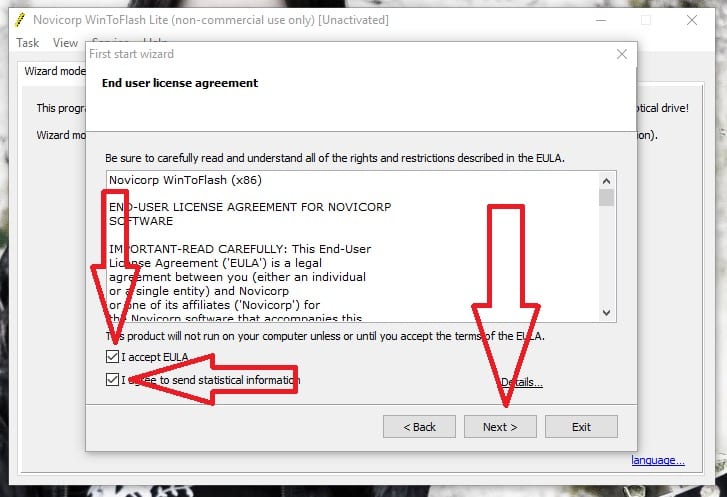
- We configure WinToFlash as the following screenshots indicate.
- We mark the two boxes and click on «Next».
- We select the option "Free License" and click "Next".
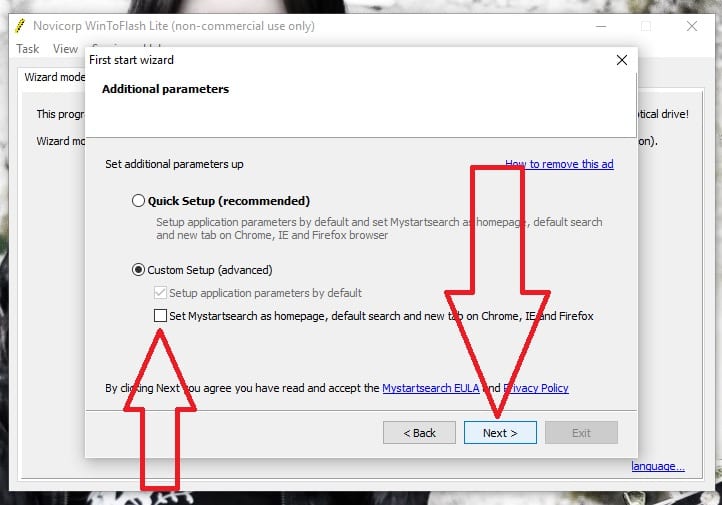
- IMPORTANT: make sure we have unchecked the box that of "Mystartsearch" before clicking «Next». It is important to uncheck the box because otherwise the search engine will change in our web browser. It is not a good idea to "accept, accept, accept" without reading what we are accepting, especially if what we have to read is just a sentence.

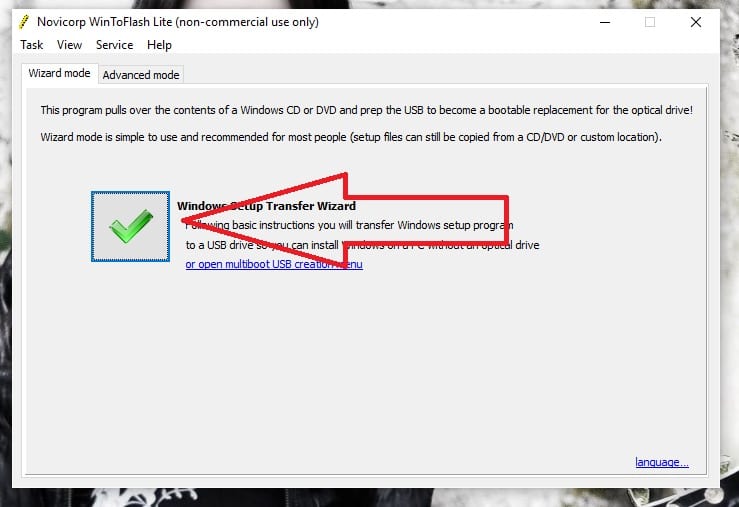
- With WinToFlash already configured, we are going to create the Bootable USB. We start by clicking on the green "V".
- On the next screen, we click «Next».
- In the next one, we mark the second option and click on «Next».

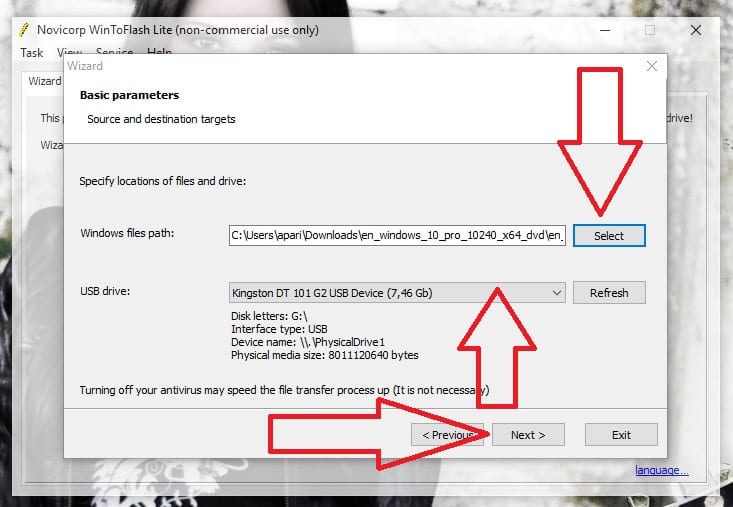
- The next step is to select the Windows ISO image, choose our pendrive as the destination drive and click «Next».
- In the next window, we accept by checking the box that says "I do accept the terms of the license agreement”And we click on« Continue ».
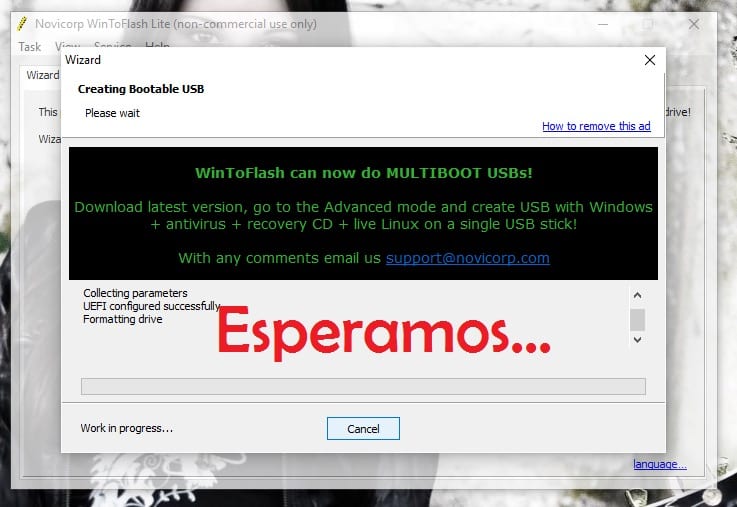
- Finally, we wait for the process to finish. It should take 15-20 minutes, depending on the computer. If our team is resource-limited, the wait will be long.

How to Create a Mac OS X Bootable USB
As I have said by different means and on different occasions, I am a bit of a "software hypochondriac" and to me (hey, to me) it doesn't seem like a good idea install OS X from a pendrive. The reason is that it has happened to me that I have installed OS X from a Bootable USB and it has not created the recovery partition, that special partition that will allow us to restore and perform other steps from the Mac without having to create a new one tool. In addition, the process of creating an OS X Bootable USB is usually long, so I take my time and do it in a different way (which I don't know whether to count so that nobody tells me I'm crazy). If, for whatever reason, what happened to me happens to you, I think that when you install Mavericks (in 2013, if I'm not mistaken) and it doesn't create the recovery partition for you, what you will have to do is perform a Google search of a file that, when installed, will create such a partition.
To create an OS X Bootable USB we will have to do it from a Mac by following these steps:
- The first thing is to open the Mac App Store and download the installation file for the latest Apple operating system (at the time of writing this post it is OS X 10.11 El Capitan).
- We will also have to download the latest version of DiskMakerX from their website.
- We connect our pendrive to the Mac. It must be at least 8GB and be formatted as "OS X Plus with registry."
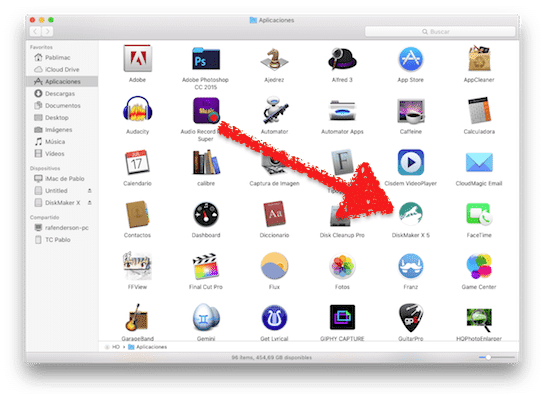
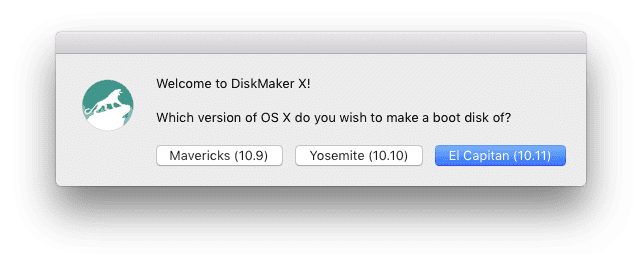
- We open DiskMakerX.
- We click on El Capitan (10.11).
- We click on "Use this copy", as long as we already have the OS X installation file in our applications folder.
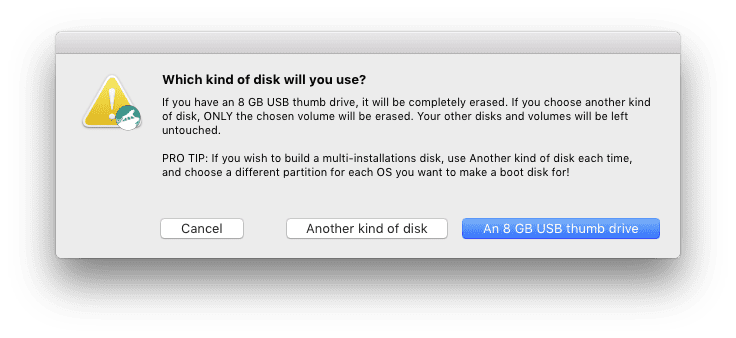
- We click on «An 8 GB USB thumb drive».

- We choose our pendrive and click on «Choose this disk».
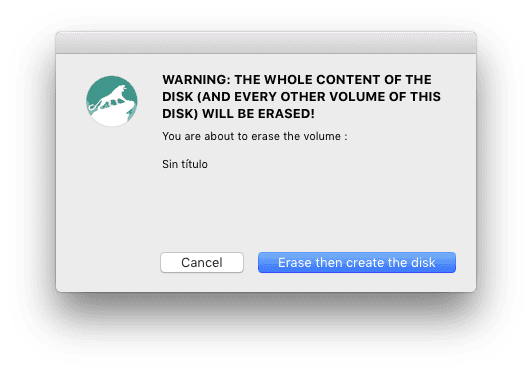
- We click on "Erase then create the disk"
- We click on «Continue».

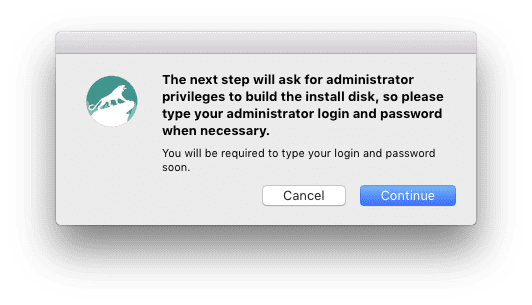
- When it asks us for the password, we enter it.
- When the process is finished, we click on «Quit».
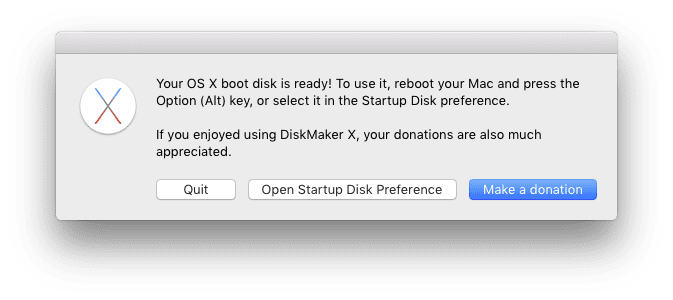
Although in this post we are talking about how to create Bootable USBs, it seems important to mention that in order to start from a different drive than our hard drive on Mac, we have to turn on the computer with the Alt key pressed without releasing it until we see that all the discs that we have available appear. We will have to do the same if what we want is to enter the recovery partition that I was talking about at the beginning of this method.
How to Create a Linux Bootable USB
For create a Linux Bootable USB I would recommend two different options. The first is to create a Live USB with UNetbootin, an application that is available for Windows, Mac and Linux. The second is to use an application like Lili USB Creator that will allow us to perform a persistent installation. What differentiates a Live USB from persistent mode? Well, the Live USB will not save the changes we have made once we turn off the computer, while the persistent one will create a personal folder (the folder / Home) up to 4GB, the maximum allowed by the FAT32 file format.
With UNetbootin (Live CD)
- If we want to create a Live USB with UNetbootin, we will first have to install the application. We will do this by opening a terminal and typing the following command (on Debian-based distributions, like Ubuntu):
- sudo apt install unetbootin
- The next thing is to prepare the USB pendrive where we will create the installation unit. We can format the pendrive (with GParted, for example) or enter the pendrive from the file manager, show the hidden files (in some distros we can do it with the keyboard shortcut Ctrl + H) and moving all the content to the desktop, this as long as we are in a Unix operating system that instead of deleting the files puts them in the folder .trash from the same pendrive.
- Then we have to open UNetbootin and enter the password of our user, something that we can do by typing in a terminal "sudo unetbootin" or looking for it in the application menu of the distribution we are using.
- Using UNetbootin is very straightforward, and that's the reason why I talk about this option before. We will only have to do the following:
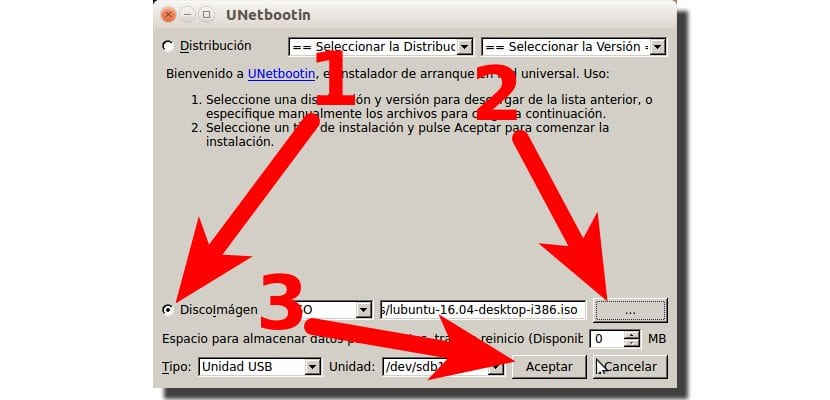
- First we have to choose the source image. We can select the option that says «Distribution »and it will download the ISO automatically, but I don't like this option because, for example, Ubuntu 16.04 was launched on April 21 and the most updated version offered by UNetbootin at the time of writing these lines. It is Ubuntu 14.04, the previous LTS version. I prefer to use the other option: DiscoImagen.
- We click on the three dots and look for the ISO image that we will have previously downloaded.
- We click OK.
- We wait. The process will take a few minutes.
With Lili USB Creator (Persistent Mode)
If creating a Linux Live USB using UNetbootin is easy, create a persistent USB (you can also use Live mode) with Lili USB Creator it is not much more difficult. The only bad thing is that this application is only available for Windows, but it is worth it. The steps to follow are those:
- We download and install LiLi USB Creator (Download).
- We introduce the pendrive where we want to create the installation file / persistent mode in a USB port.
- Now we have to follow the steps that the interface shows us:
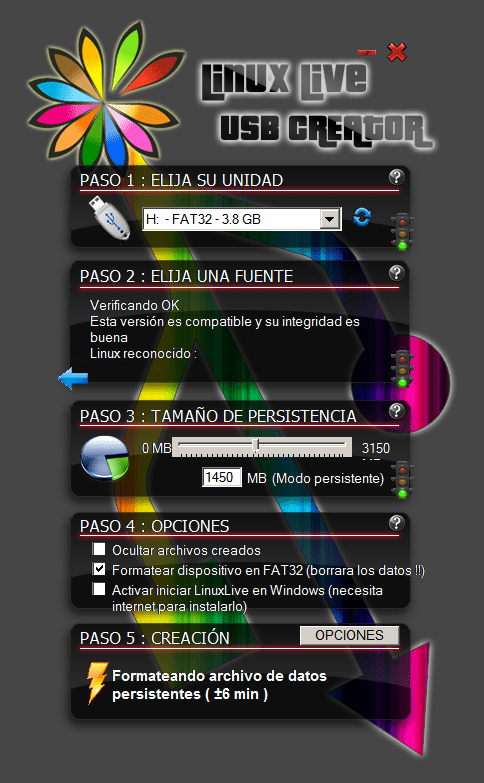
- The first step is to choose our USB drive.
- Next we have to choose the file from which we want to make a Bootable USB. We can choose a downloaded ISO, an installation CD or download the image to install it later. If we choose the third option, we can download the ISO from a very extensive list of operating systems. As I said in the UNetbootin method, I always prefer to download the ISO on my own, which ensures that I will always download the most up-to-date version.
- The next step we will have to move the slider to the right until we see that the text «(Persistent mode)» appears. The size will depend on our pendrive, but I recommend using the maximum allowed. It will not allow us more than 4GB because that is the maximum size per file that the FAT32 format supports.
- In the next step I usually check all three boxes. The middle one, which is unchecked by default, is for you to format the drive before creating the Bootable USB.
- Finally, we touch on the beam and wait.
The process is not as fast as UNetbootin, but it will allow us to take our pendrive with us and use our GNU / Linux system wherever we go.