
Finally Google has released the factory images of Android 5.0 Lollipop Like the OTAs they are reaching the following devices: Nexus 5, Nexus 4, Nexus 7 and Nexus 10.
Next we will go on to detail how to manually install Android 5.0 factory images for any of these terminals if not you have the patience to wait for the OTA and you want to have all the benefits and virtues of Lollipop for Android available now.
You have to remember that before starting with the manual installation of the factory image, you have to take into account you have to be an advanced user. Don't mess with it if you never ROOT your terminal or installed a custom ROM. And if it was the first time, follow all the steps well since we are not responsible for what could happen to your device.
Tell that this procedure will erase all data from the phone or tabletas factory images restore the device to a just-in-market state.
Requirements
- Download the appropriate Android 5.0 factory image Lollipop for your device: Nexus 5 (GSM / LTE), Nexus 7 2012 WiFi, Nexus 7 2013 WiFi, Nexus 10 y Nexus 4.
- Download that Nexus USB drivers
- Nexus device with bootloader unlocked
- A computer with ADB installed and configured
- Active "USB Debugging" in Settings> Developer options. To activate these options from Settings> About and press 7 times on compilation number
If for whatever reason the computer does not recognize your device you have to go to storage, the icon with three vertical dots and select USB connection to the computer. Disable MTP and select PTP.
Unlocking the bootloader
- Have ADB installed and configured. Download it from this link. When installing it is important that let's locate it on hard drive C. From here we can perform all the actions.
- Now you must open CMD from this location: C: android-sdkplatform-tools. Press uppercase and at the same time right-click on the platform-tools folder. The option "open command window here" will appear in the pop-up menu.
- Now you must turn off the device completely and connect it to the PC via USB
- From the command window type "Adb devices" without the quotes. You will have to get the number of your connected device. If not, go to the previous trick of selecting PTP in USB connection to the computer and check that the Nexus USB drivers are installed
For Windows
- Write now:
adb reboot bootloader
- The device reboots and enters bootloader mode
- Write:
fastboot oem unlock
- Follow the on-screen instructions of your Nexus device
For Mac
- Launch the terminal and write the command to configure ADB and Fastboot:
bash <(curl https://raw.githubusercontent.com/corbindavenport/nexus-tools/master/install.sh)
- Navigate to System preferences> keyboard - shortcuts, then in services. Find the option new terminal in folder and activate it.
- Connect the Nexus device to your Mac via USB.
- Extract the contents of the image in a folder on the desktop. Right click on the folder and select services when the menu appears, click on new terminal in the folder.
- Next in the terminal window to reboot the device in bootloader mode:
adb reboot bootloader
- Now, for unlocking:
fastboot oem unlock
- Follow the instructions on device screen
Installing Android 5.0 Lollipop on Nexus 4, 5, 7 and 10
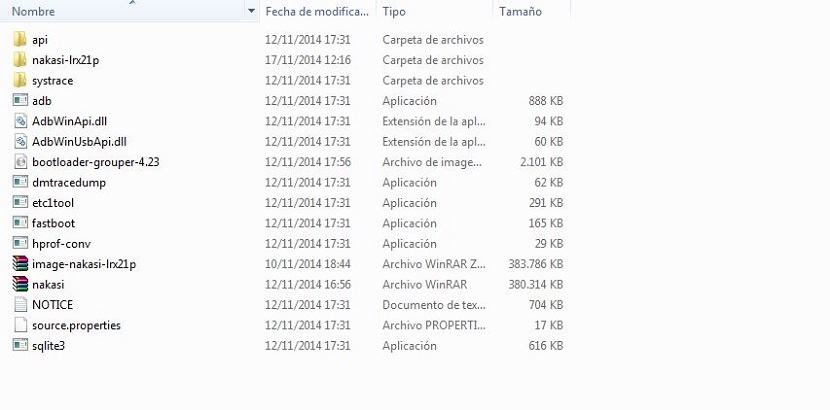
- Extract the factory image content from the same platform-tools folder from adb from which we have previously opened the command window
- From the same folder open a command window again following the above procedure (uppercase + right click on the folder) or terminal on Mac
- Write the command:
adb reboot bootloader
- We make a total erasure of internal memory with the following commands:
fastboot erase boot
fastboot erase cache
fastboot erase recovery
fastboot erase system
fastboot erase userdata
- Now, install factory image file that you have previously unzipped in the platform-tools folder: (here you have to copy the name of the system's zip file as is. It will vary from one model to another and the example is the Nexus 7 2012 wifi in blue)
fastboot - w update image-nakasi-lrx21p
- Users Mac and Linux you should right click on the folder where the factory image is, then navigate to services and click on new terminal in the folder and type the following command:
./flash-all.sh
- Now it will take a few minutes to start and configure and that's all