
In front of the computer, basically, I write and publish content. For this I need an internet connection, a news manager to filter the information, an email manager to communicate and receive press releases; an application to edit images and, of course, in the latter case, an easy way to take screenshots. Especially if I am writing a tutorial or some information that I must demonstrate graphically. And it is in the latter case when I most miss a Mac computer if I start working with a computer under Windows.
However, if I remember correctly, with Windows Vista appeared a new function on the Microsoft platform. Is It's called "Cutouts" and offers the possibility of taking the long-awaited screenshots. Now, we continue with the same problem: you must start looking for the application through the Windows menu with the consequent loss of time. And is that if we compare it with the ease of macOS and its keyboard shortcuts, it has nothing to do. Now, we are going to try to make your life simpler and put keyboard shortcuts to this application.
Before we start, we warn you that what this keyboard shortcut will do is launch the application and then you will have to move with the mouse to start a new capture. But it will save you the previous steps of searching and searching. Also, keep in mind that this trick does not access different capture modes as it does in macOS. With that said, let's get started with the little hack and tutorial.

The first thing we will do is locate the "Snipping" application. If you do it from the interface Modern UI, you must enter the section of all applications and when you find it, click on it with the right mouse button. In the drop-down menu select "Open file location". This way it will direct us directly through the file browse where "Scraps" is hosted.
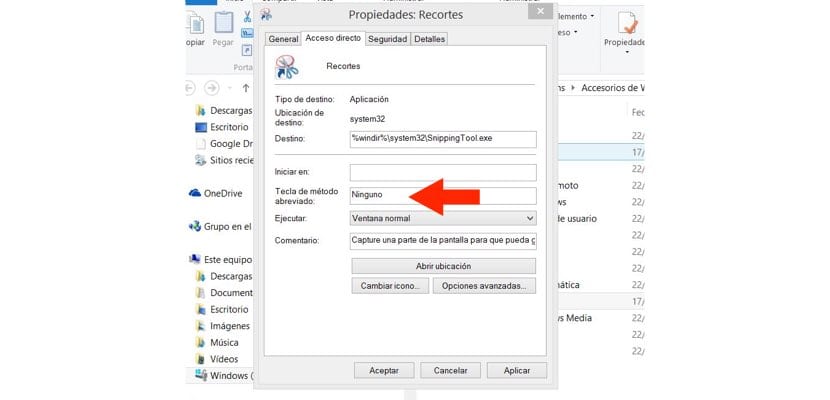
Once in Windows File Explorer and with the "Snippets" application visible, we will click on it again with the right mouse button. This time in the drop-down menu we are interested in the option «Properties». We will check that one of the boxes indicates "Shortcut key". Choose your perfect combination and click on "activate" at the bottom of the window. Then accept.
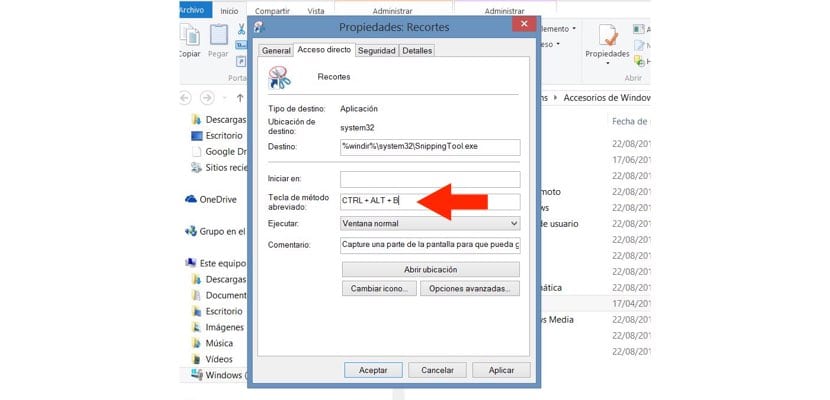
For the keyboard shortcut to work, remember that you must press the keys at the same time. Also, if you move on the interface Modern UIRemember that this application «Cutouts» will not help you at all; you will have to resort to a more traditional method such as capturing through the «Print Screen» or «Prt Scr» key.