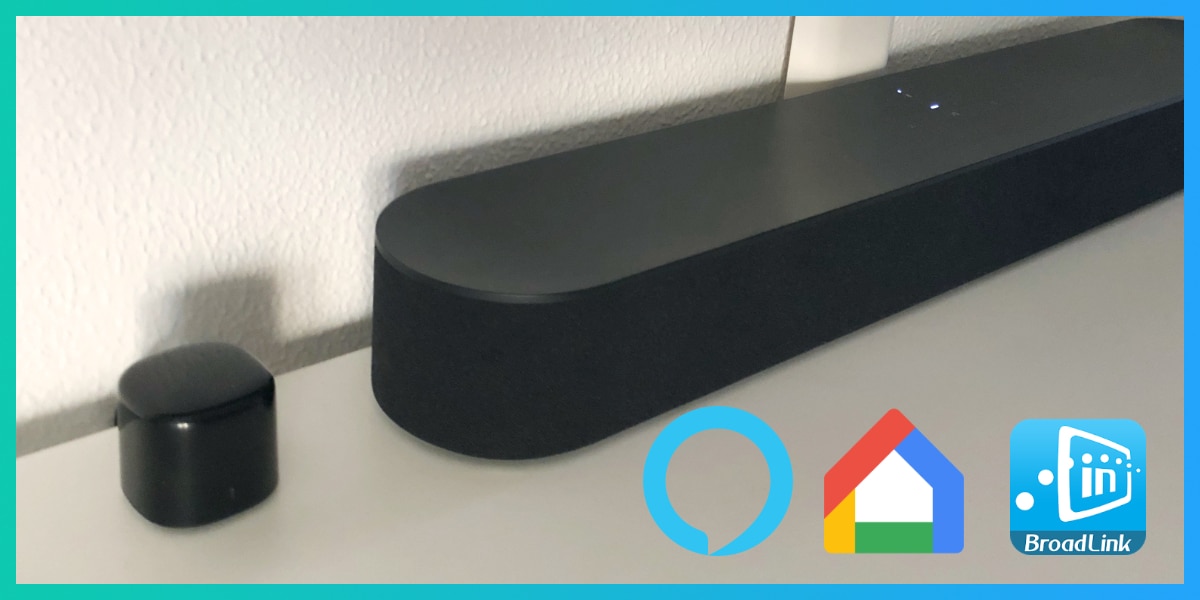
Have you ever had the feeling that there are too many control knobs in your living room? Do you dream of being able to control your television, air conditioning or heating directly with Alexa? Today we want to show you how you can easily use any device that uses a remote through Alexa and Google Home. The only requirement is a small device that costs less than 10 euros and by following our configuration you will be able to tell Alexa to lower the temperature of the air conditioning, turn off the television and many more things you can imagine, stay with us and find out in this new tutorial Actualidad Gadget.
Broadlink - An inexpensive RF and infrared control
The first thing we are going to need is a device that we will call "Broadlink", these are devices that simply convert the orders we give them into an IR (infrared) or RF (radio frequency) signal instead of the needs we have. Many of these devices even have Bluetooth and one of the best known brands is BestCon, However, you will find countless brands on Amazon, eBay, Aliexpress and other online stores that will allow you to get one of these for very little. As we have said, we opted for the BestCon RM4C Mini that is BroadLink compatible.

This device cost us less than 10 euros and we bought it on eBay. It is the "mini" version, so the IR range is approximately 8 meters. The difference with other larger models is both the scope and the position in which we place the device. As you have seen in the tests, it seems that those eight meters are sufficient for normal use in a living room. We have chosen this model for the good scores obtained on the internet, but you can see in the video above our unboxing and first impressions.
We find a device compatible with systems Multi-directional IR and RF, as well as 802.11.bgn WiFi connectivity, Of course, we must mention that it is only compatible with 2,4 GHz connections, so it will not work with the typical 5 GHz connections that are so common now at home and that offer higher speed, although worse range. It has an IR range of 38 kHz and is compatible with both iOS and Android through the BroadLink app, quite universal and well updated. It is important that we choose a product that is compatible with the BroadLink standard.
It is surprisingly compact, It is 4,6 cm high, 4,6 cm long and 4,3 cm thick. A small bucket built in plastic jet black, has an indicator LED on the front, while the rear is for a port microUSB (cable included) with an input power of 5V. Weight is less than 100 grams and an adapter is also included in the package so that we can put it on and off the wall easily through a screw system, although honestly, it weighs so little that I have no doubt that it could be attached to the wall with double-sided tape.
Another section that has attracted us to acquire this device in addition to its compatibility with BroadLink is that it has a very important database in the cloud, therefore, we are only going to have to introduce the type of product and its brand so that it offers us a series of controls, important that it can have these types of standards. Little more in this regard, just keep in mind that if your living room is very large or has many obstacles, you may have to opt for a "Pro" model or larger, remember that the relative distance of use is 8 meters.
BroadLink Configuration
Once we install the BroadLink application (Android / iOS) we simply connect the device to the network and open the application and follow the Next steps:
- We make sure that our smartphone is connected to a 2,4 GHz network.
- We plug in the BroadLink and see that the LED indicator blinks.
- We checked into "BroadLink" in order to use an account.
- Click on "Add device" (the application probably only works in English).
- We grant the necessary permissions to the application.
- We carry out the search and when the application requests it, we enter the password of the selected WiFi network.
- We wait for the device to update, download the database and finish all the background tasks.
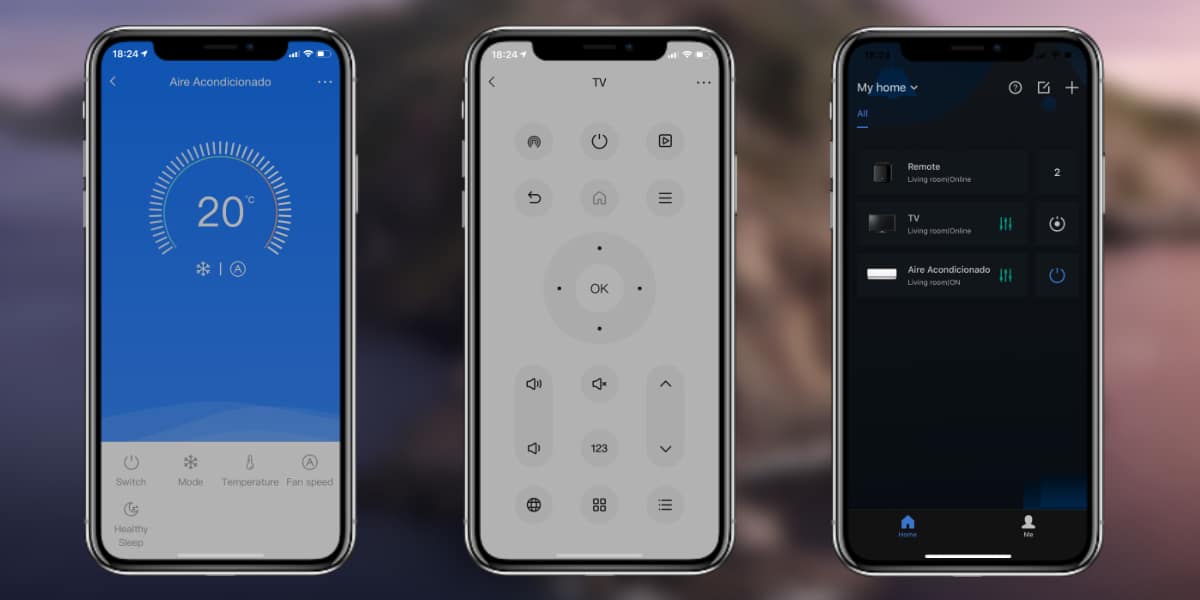
Now we have configured our device, the next step will be to add the controls, for this we simply have to click on add appliances and follow the instructions below:
- We choose the type of device we want to configure.
- We enter the brand of the device in the search engine and select it.
- It is going to offer us three possible most common controls, we are testing the buttons to verify that all functions are executed correctly until we press the blue button of the control that works correctly.
We have our controls added to BroadLink and we can manage what we want from the application, but the most interesting thing is to do it from Alexa.
Use BroadLink with Alexa
The next step is that We give orders to Alexa and that it executes the actions as if it were our command but through the voice, with these simple steps:
- We open the Alea application and go to the section Skills.
- We search for the "BroadLink" skill, grant it permission, and link our user account.
- We go to the devices section, click on "+" and look for devices, we wait for the action to finish.
- All the devices of our BroadLink available with Alexa will automatically appear, if we want we can organize them or leave them as they are, to our liking.

Now simply by giving instructions to Alexa it will automatically execute them, we just need to make sure we have selected the correct controls on BroadLink. You will be able to do everything that the normal control of your device allows you and even some other things, some of the most common tasks:
- Alexa, turn on the air conditioner
- Alexa, set the air conditioner to 25 degrees
- Alexa, turn off the air conditioner
- Alexa, put a timer on the air conditioner
- Alexa, set the air conditioner to turn on at ...
- Alexa, turn on / off the TV
- Alexa, mutual TV
We hope this simple tutorial has helped you And if you have any doubts, take advantage of the video in which everything is shown step by step.