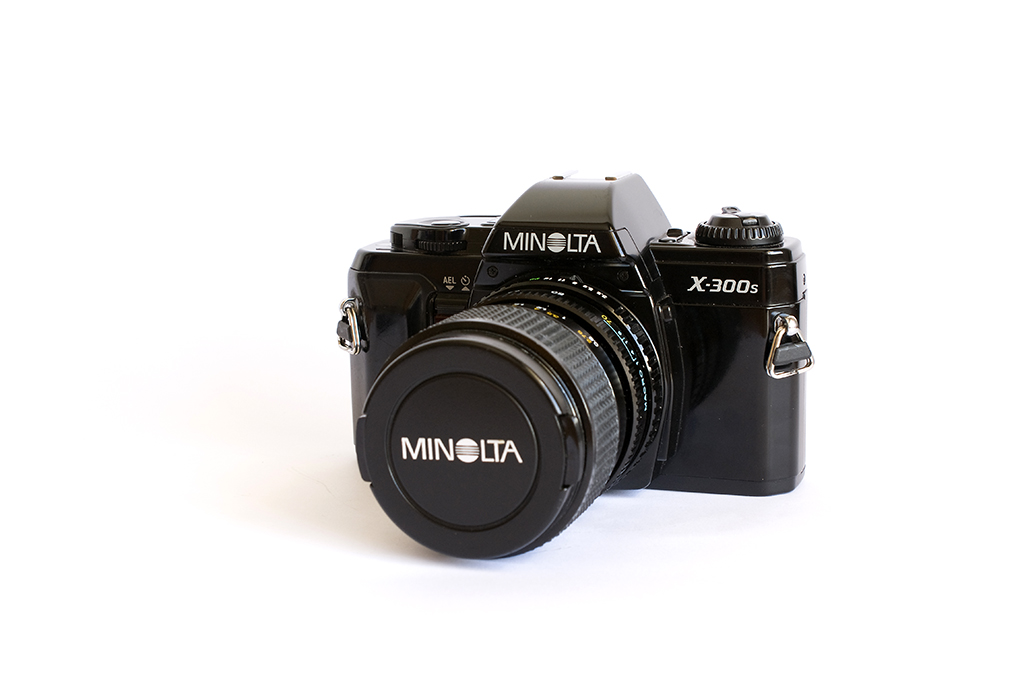
Today we see many photos with results similar to these

Many will think that it is complicated, but not at all, it is very simple and really cheap. In this tutorial I will show you a way to do a home study, which will be the cheapest and easiest and I will also show you how to take and process photos in two different ways, which will be "Mode A" and "Mode B". So that the images do not deteriorate due to an often aggressive processing, we will take the captures in RAW.
To do the home study we need: A large white cardboard (if you want the background in another color, another color), camera, tripod and natural light (I prefer it to flash lighting since it does not make reflections or shadows so pronounced).
We place the elements as in the image, obviously if you want to put the camera higher you put it and if you want to change the position of the object you change it.
MODE A
To take the shot with natural light: We measure the light and set the photometer to + 1 / 1,5 / 2EV, so that the cardboard is whiter (and not 18% gray) than it is without actually burning the taxi (that is why it is recommended to use the raw format, or RAW). It is advisable to put the lower ISO sensitivity available to the camera, and if we want the object to come out perfectly focused, as is the case, we will put a closed diaphragm to obtain, in this way, more depth of field. If the tripod is not very stable, we set the delay in the shot and we shoot, or failing that, we use the trigger cable.
The next part of the work is done in front of the computer.
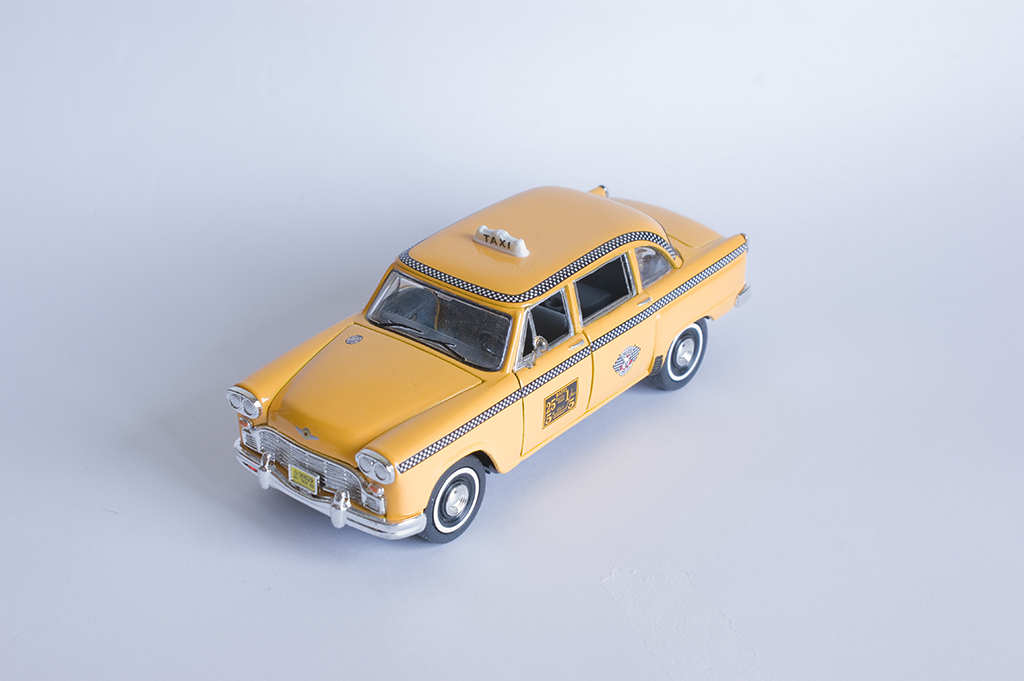
The photo output as is from the camera is this:
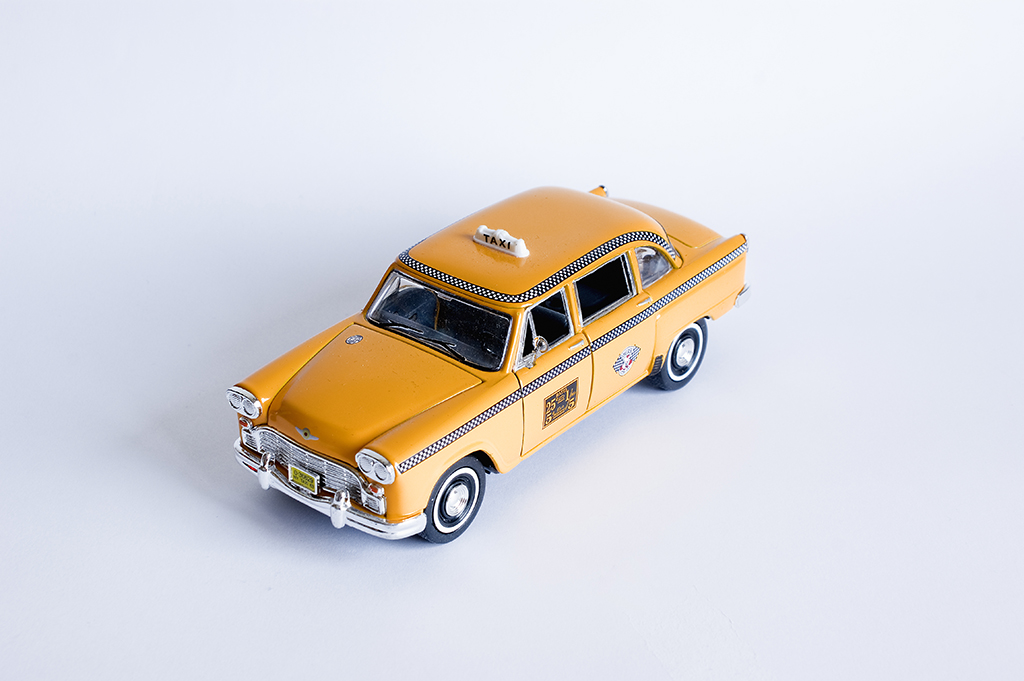
After processing it with Adobe Camera RAW and PhotoShop we will get this:
To get to this result we will do the following, in the Camera RAW we put the recovery to the maximum and we remove the blacks (according to tastes), then we increase the exposure without burning the object, the background can burn, since it will be whiter ( with flash it is worse, since the reflections would burn us).
Then we open in PhotoShop and go to the Levels in a new adjustment layer and in luminosity mode and we adjust them to the places where the histogram begins and ends to get a more contrasted image. If we notice that the background is not yet completely white or as white as desired, we can give the background color to be replaced and whiten it, as long as we do not burn the object (when they are black objects, the step of replacing color is not usually necessary ) or if not lighten it with the color balance brush or in some other way that you know.
Finally, having taken the photograph with such a closed diaphragm, If we have dust spots on the sensor, they will be seen, therefore, we eliminate them with the patch and if we believe it necessary we apply a focus mask, as is the case.
MODE B
This mode, simpler and faster, consists of taking the photo by placing the spot metering, measuring the object to be photographed (as long as it is darker) and shooting with the photometer at 0 (we may not achieve a very pure white in that case we would compensate the exposure until we find the desired result). Then, as a post-process, you will only have to touch the levels, eliminate the dust spots from the sensor that could appear due to the use of closed diaphragms as well as defects that the cardboard may have (scratches, stains, broken ...), for this purpose you can use the Clone buffer and patch tools.
Let's keep in mind that natural light is not always the same, so each photo is different and the results will not always be the same, although they will be similar.
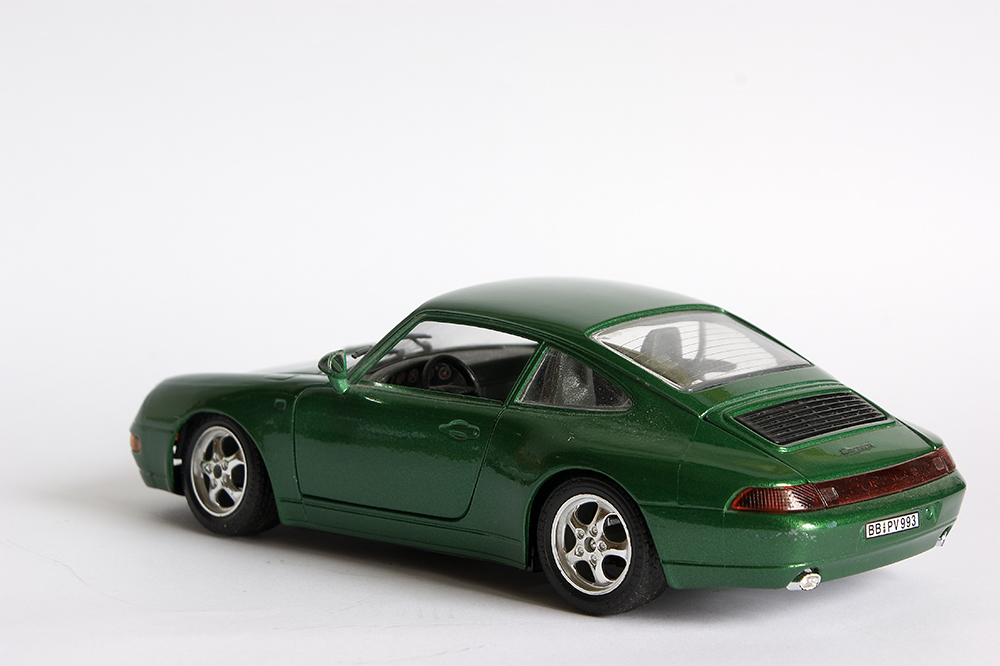
With light objects (white) neither of the two procedures can be carried out, so it would be necessary to put a background of another color. I leave you an example taken in point measurement.


