
This vacation you have surely taken countless photos with your iPhone. As you already know, it is one of the most common cameras on networks like Flickr, and one of the best mounted on any smartphone today. And now, with the imminent launch of the iPhone Xr, Xs and Xs Max, they take another leap to get closer and closer to DSLR or even professional cameras. The photographs taken with our iPhone are a very important part of our memories, and that is why, despite having in most cases a large capacity in our device to store them, know how to transfer photos from iPhone to computer it is essential to keep them safe and do other things with them, such as edit them, post-process them. In this article we will see several different methods to do it, you already have Mac or PC.
Ways to transfer photos from iPhone
Method 1: Transfer Photos from Windows Computer to iPhone
Since the arrival of the latest versions of Windows, when we connect our iPhone to the PC we will see it as a mass storage device. Well, in fact, it is. Windows will treat it in the same way as if we connect an SD card or an external hard drive. This is how we can transfer photos from the iPhone to our computer:
- The first thing we will have to do is, obviously, connect our device to the PC using a certified Lightning cable (either the original or a third-party MFI).
- We open My PC or "Computer" (depending on the version of Windows we use) and we look for our iPhone.
- Inside the device we will find a folder called DCIM (acronym for digital camera images) where we will find several additional folders.
- Each folder contains the photos ordered in increasing order, but be careful, not by date, but by photo number. It is possible that there are jumps (deleted photos), or that you have photos that you took the same day in different folders. The easiest thing is open them all and take the photos to the folder we want on our computer.
This is the simplest method; However, then it is the most cumbersome if you want to have the photos organized in different folders, by dates, events, etc.
Method 2: Use the Windows 10 Photos app

The official Windows app for manage the photos of our devices called Microsoft Pictures. It does it in a similar way to how the macOS Photos app does, and we can download the program at this link. Once downloaded, we just have to follow these simple steps:
- We have to make sure we have the latest version of iTunes on our PC, which you can download here.
- We connect our iPhone to the computer and we agree to trust the computer.
- We open the Photos program from Microsoft and in the upper right corner we will select the Import option.
- At this point, we must choose the photos we want to import, or select them all and click on continue to transfer the photos to our computer.
This method can be somewhat more annoying for those who do not like having programs that we use occasionally, although the result is a library of photos concentrated in one application, and above all, better organized.
Method 3: Uploading to the Apple, Google or Dropbox cloud
In this method it does not matter if we are on a Windows computer, a Mac or a computer that is not ours, we can access our photo library as long as we have it stored in a cloud and we have an internet connection. The most used are those of Apple, Google and Dropbox, although there are other services that will give us a similar experience. We can use them in this way:
- To access our photos in the apple cloud we will enter iCloud.com. We enter our username and password and select the Photos app, where we can download the photos that we want directly to the computer.
- Having Google Photos installed On both devices, we must wait for them to be synchronized to be able to access the photos we want to import.
- En dropbox we can activate the photo sync in the iOS app itself, through the option «uploads from camera».
Taking advantage of cloud services we can transfer photos quickly and comfortably. The only drawback is that, for this, we need a good internet connection, which even today there are times when it is impossible.
Method 4: On a Mac with the Photos app
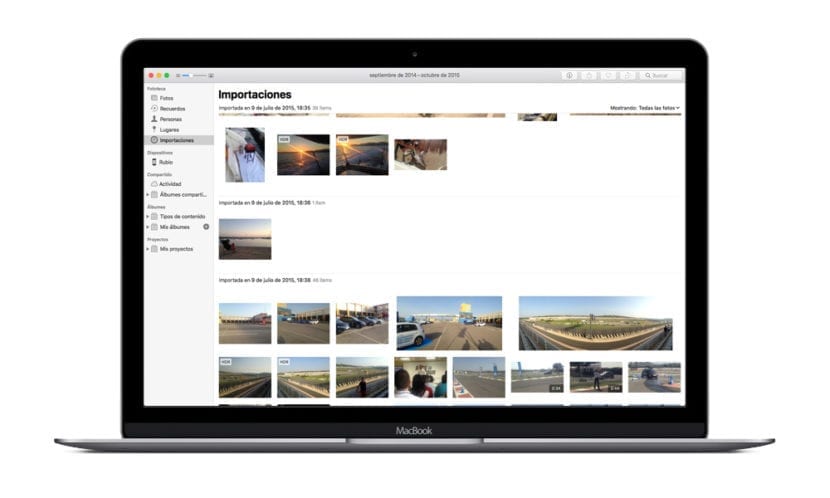
And of course, it doesn't hurt to remember that if you have a Mac, the most comfortable option is to use the Photos application itself, built into the operating system. The operation is very simple:
- We connect our iPhone to the Mac with the corresponding Lightning cable.
- We open Photos and select our device.
- We select the photos that we want to copy to our Mac and click the Import button.
As soon as the process of transfer photos from your iPhone to your computer, we will have the corresponding files organized by events, and we can choose to view them by dates or places.
As you can see, regardless of the operating system you use, there are infinite ways to be able to transfer the photos from your iPhone directly to the computer, either through a connection WirelessHow can the cloud, or by cable physical. In this way, and realizing a copy of your photos every so often, you make sure you have one well organized, secure photo library and, above all, wherever you want.
I love how artistic the photo that accompanies the article has been!