An interesting online tool that has the name of Flatty Shadow can do the magic for us, which is recommended by experts on the web to try to create their own Favicon so that they can later place it in any environment of their website .
Despite this being a great recommendation, we could create the element that we will create with the help of Flatty Shadow. use anywhere we want, and may even be the icon that represents our profile image in any of the social networks that belongs to us.
Enter the service offered by Flatty Shadow
Assuming that we will follow the advice of experts on the web and decide create a Favicon with this tool by name Flatty Shadow, we could almost assure that the advantages are multiple, since we could place this graphic element in different environments within the website as we have previously suggested, these being the following:
- The logo on the top banner of our website.
- THE Favicon that is located to the left side of the URL of our website.
With certainty that the first term that we mentioned above you will easily identify it, since it is the one that must always be present on a web page and that has the characteristic of direct the user (visitor) to the «Home» when it is selected. Now, with regard to the second item that we mentioned above, this "Favicon" is the one that is located towards the left side of the domain name of our website. If you never realized it, we recommend you visit any website and even the «Killer Vinegar«, Paying attention to the area of the URL. Right there you will notice the presence of a small graphic, same as as an icon it represents the Favicon that we have mentioned and that we could be manufacturing it with this tool called Flatty Shadow.
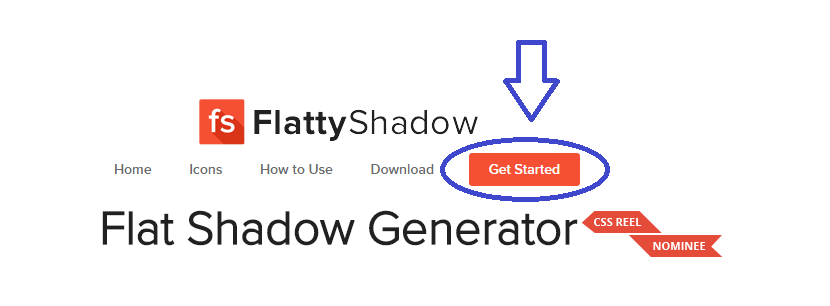
In order to achieve our goal, we must first go to the official website of Flatty Shadow, a place where you will find great information about everything you can do with it. The work area to create our Favicon is towards the bottom of the page although, in the first instance, this interface remains invisible. For this reason, we recommend you go to the top of the web and click on the icon that says "Get Started" (red button), with which this same online tool will direct you to the final part and specifically, to the editing area with which we will work from now on.
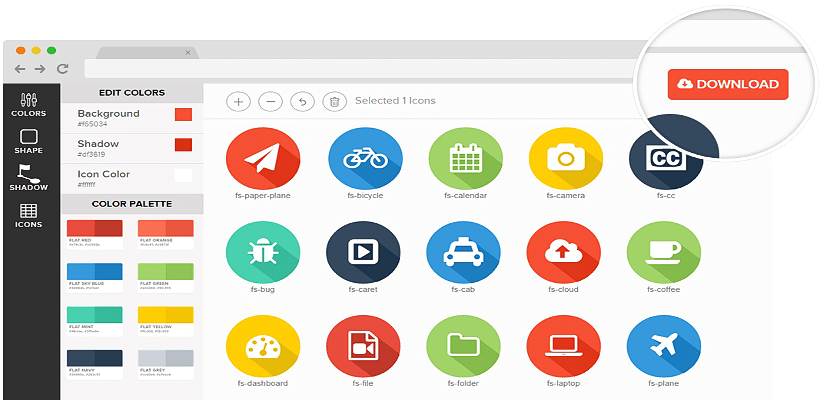
Work interface in Flatty Shadow to create our Favicon
The interface is friendly, with a large number of elements that you will surely recognize easily. There are three main areas that you can admire, these being the following:
- A gray left sidebar where the most important functions are located to be able to customize the icon that will later be our Favicon.
- The region in the middle where all the icons will appear (from Fonts) and with a search space.
- A region on the right side where the icons that we will begin to customize to create our Favicon will be displayed.
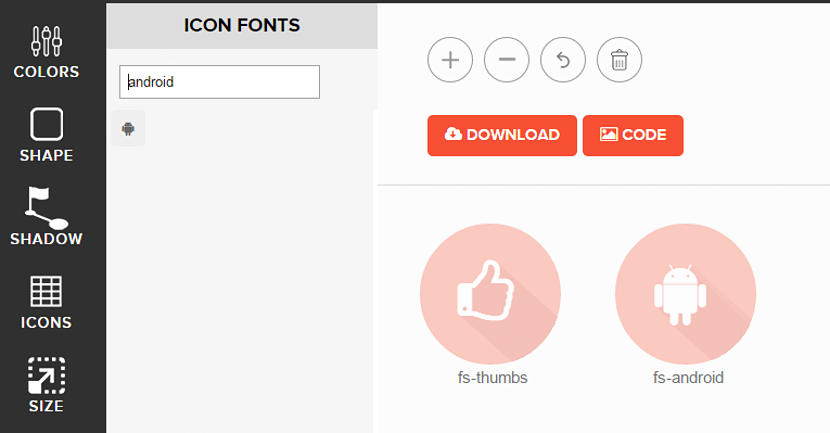
Each and every one of these areas is very important to use. For example, towards the left side you will have the possibility to find all the "icons" that are part of this tool; each and every one of them will appear towards the central area that we mentioned above, having to use the search space to write the name of an icon that is of primary interest to us.
Once we find it, we will only have to select it so that it appears in the region on the right, where we can begin to modify it. These modifications will have to be supported by the tools that are shown towards the left sidebar, because from there we can choose:
- Change the color.
- Add a shadow.
- Define the distance of the shadow from the object.
- Add new items.
It's just a matter of starting to manipulate each of these functions and tools within the Flatty Shadow interface to be able to obtain at the end, a personalized icon that for us will be a Favicon; When it is completely finished we can download it as an image as well as, with the respective code that will serve us to use it on the web page.