
Surely on more than one occasion, you have wanted to save the image of a web page, the frame of a movie or a YouTube video, carry out a step-by-step tutorial with images from the application ... If you have always been a Windows user, sure you know the key Imp. Pant, that blessed key that takes a screenshot of everything that is displayed on the screen.
But if we have switched to Mac, in part because we believe that the Windows ecosystem is more susceptible to attacks or that it crashes more easily, both of which are totally false, and you have not just found a way to be able to quickly capture what in that moment is shown on the screen, then we show you how to take a screenshot on Mac.
The Apple operating system for computers, puts at our disposal four ways to be able to take screenshots quickly and easily. However, despite the simplicity that Apple boasts, the method is not as simple as the one we have traditionally used in Windows via the Print Screen key.
Although it is true that the speed that Windows offers us in the beginning, we cannot find it in the subsequent image processingSince we have to cut it through Paint, for example, in Apple's desktop ecosystem, the guys from Cupertino put at our disposal four methods to take screenshots. Each method does not replace the previous one, since each one offers us different results, depending on what type of screenshot we are looking for:
- Capture of everything that is displayed on the screen.
- Capture of an application window with a shaded border.
- Capture of an application window without shaded border.
- Capture of a part of the screen.
As we can see, Apple offers us four different types, so that the user selects the option that may interest them the most, depending on the end use you want to make of it.
Capture the entire Mac screen
If we want to take a screenshot together, without having to resort to more subsequent images, as long as the web page, application or menu configuration allows it, the fastest option is to take a full screen capture through the command : CMD + Shift + 3
By pressing these three keys together, we will hear the shutter sound of a camera, to confirm that we have proceeded to capture correctly.
Capture an application window with shaded border
If we do not want to take a full screen capture, but our intention is only to share or use the an application window or a settings menu, Apple allows us to capture only that section through the command: CMD + Shift + 4. Then we press the space bar.
At that moment, we move the mouse to the window that we want to capture, the window that it will change color to confirm which is the object of the capture, and we click on the mouse or trackpad. As in the previous method, when performing this key combination, the sound of a reflex camera shutter will be heard, which will confirm that we have carried out the process successfully.
Capture an application window without shaded border

Capturing an application window without a shaded border is a procedure practically identical to what we can do when if we want to add this border. To do this, we must press the following key combination: CMD + Shift + 4. Next, we press the space bar to activate the section of the window that we want.
Once we have placed the mouse over the window in question, we must press the Option key, while we select with the mouse the window that we want to capture. With this method, we will prevent the capture from showing a shading at the bottom of the image. The sound of a camera shutter will confirm that we have carried out the process correctly.
Capture a part of the screen

If what we want is to capture a part of the screen, Apple allows us to carry out this task through the combination of keys CMD + Shift + 4. At that moment, a cross will be displayed that we must place in the upper left corner of where we want to start capturing and press the mouse. Without releasing it, we must drag the mark to where the area we want to capture ends. At the end of the process, we will hear the shutter of a reflex camera again to confirm that we have carried out the process correctly.
Where screenshots are stored
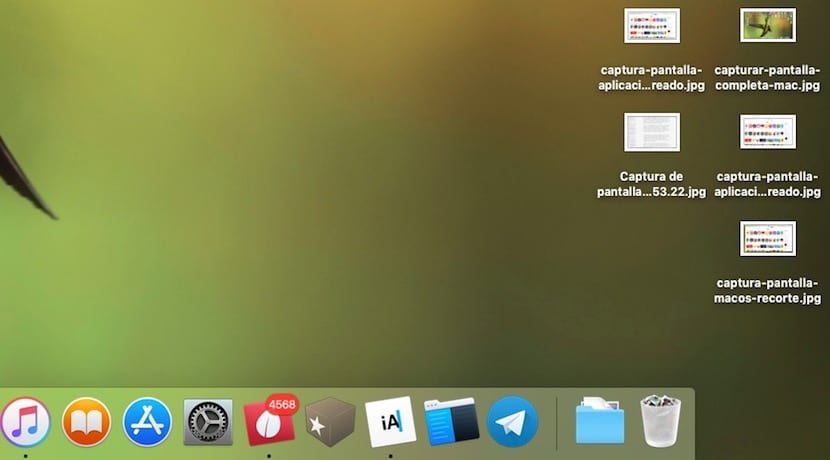
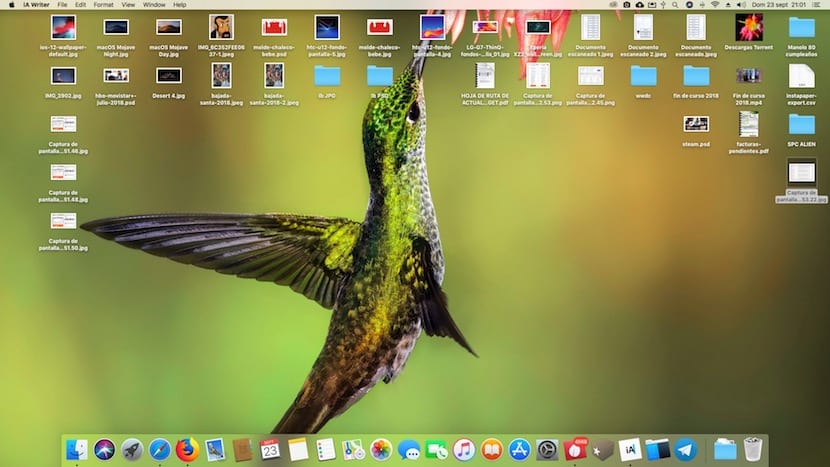
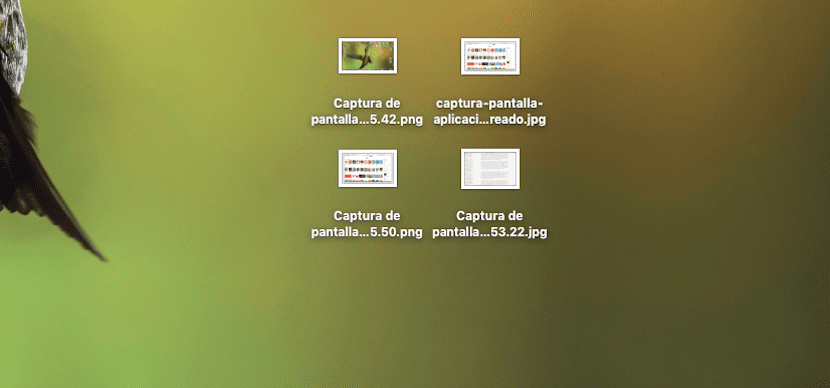
By default, all captures are stored natively on the desktop of our team, in order to have them always at hand to insert them into the document we are creating, share them through email or messaging application ... Apple's operating system for computers, allows us to change the default storage path of the captures that we make, something that can become a problem, when the number of captures that we plan to make is very high.
Change the format in which screenshots are stored
In a native way, all the screenshots we take, are stored in PNG format. This format, especially if the image contains dark colors, usually takes up much more space than the preferred format for compressing images: jpg.
Depending on the use that you are going to give to the capture of the image, it is likely that you are interested reduce final image size, in order to reduce loading times (if the image is for a web article) in addition to reducing the time it will take to send it through email or through messaging applications.
Not only can we change the format from .png to .jpg, but we can also use the .tif, .bmp, .pdf, .gif formats ... format that also take up much more space than the traditional .jpg. To change the format in which the captures are stored, we must open terminal and write the following command:
defaults write com.apple.screencapture type jpg
Change the folder where screenshots are stored

Screenshots of our team, are stored on the desktop, as I have commented above. They do the name Screenshot followed by the date, hour, minutes and seconds of it. Within the macOS customization options, we can change the destination of all the captures we make.
To change the directory where the screenshots we make are stored by default, we must open Terminal and write the following command
defaults write com.apple.screencapture location ~ / New location
Where it indicates a new location, we must write what it will be the directory where we want them to be stored all the captures that we make from that moment on.
Someone upgrading to mojave, the "instant" app disappeared?