Because many people don't know where to put this Windows 7 Recycle Bin, its location practically changes places constantly if We rearrange the icons that are part of the desktop. In this article we will mention the easiest alternative that exists to be able to place this Recycling Bin in a place where it will never move.
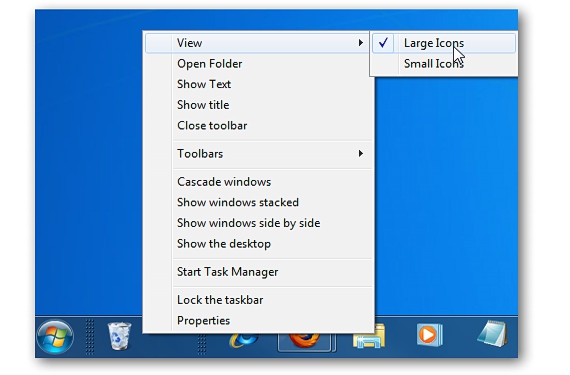
If we get to place this Recycle Bin on the Windows 7 Taskbar, it will always pass there as if we had anchored it; In this way, if we reorganize the icons found on the desktop, our Recycling Bin will continue to be present in a fixed place as proposed in this project.
Preparing the Recycle Bin in Windows 7
Based on a series of sequential steps, in this article we will indicate the correct way in which you should proceed to place this Recycling Bin Windows 7 in the place that we have suggested (the Task Bar); For this, we will only need to perform the following steps:
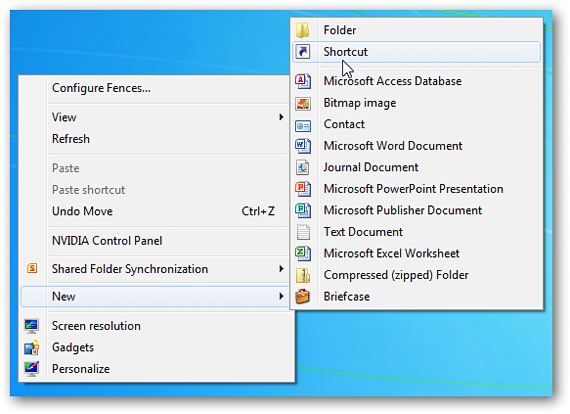
We go to an empty space on the desktop, having to click with the right button of our mouse to make them appear the different context menus. From among them we have to choose the one who will allow us «create a shortcut«.
In the area that corresponds to the address of the call of a function of this "shortcut" that we are creating, we will only have to write the following sequence:
explorer.exe shell: RecycleBinFolder
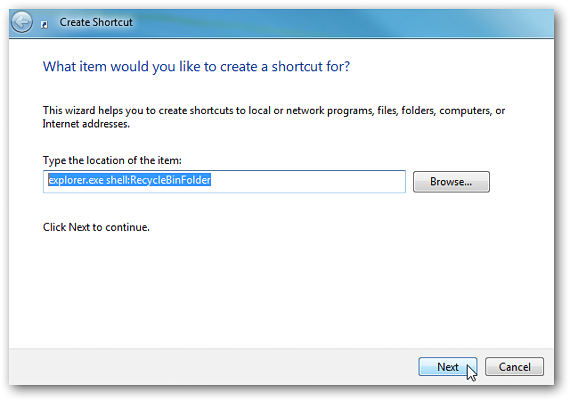
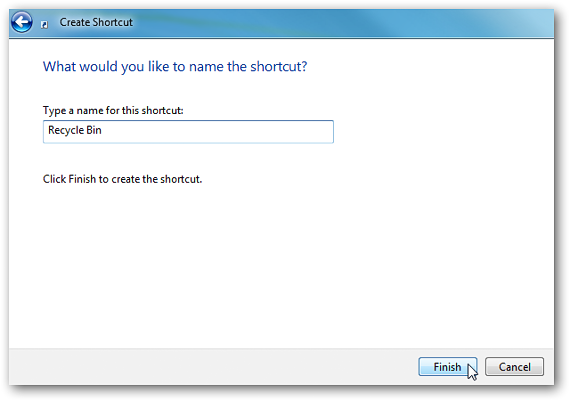
We will continue to our next step in this wizard by clicking the «buttonNext«; We must immediately write the name that this shortcut will have.
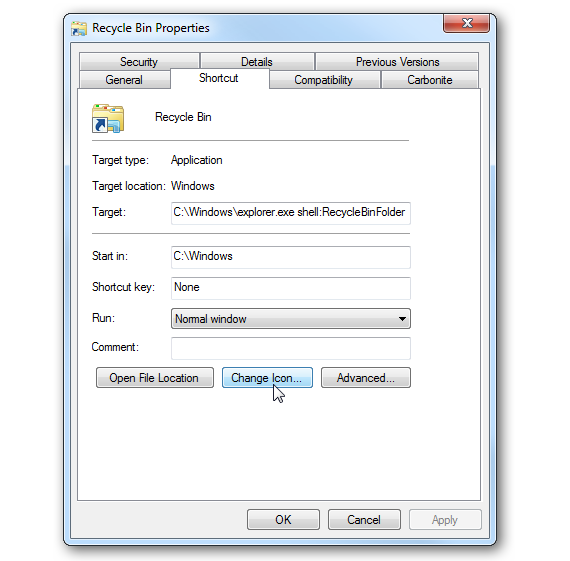
The only thing we have done so far is create a shortcut that theoretically, corresponds to our Recycling Bin; at the same we can admire it on the desk of Windows 7, although with a completely different icon to the one that corresponds to it. For this reason, on this icon we must click with the right button of the mouse to choose its «We take care of your rental property in Valencia. «.

The new window that appears will help us to change the shape of this shortcut; To do this, we must go to the respective tab (direct access) and later, choose the little button that says «change icon».
A few graphics will appear in a new window, from which we will have to choose one that identifies with the Recycle Bin;
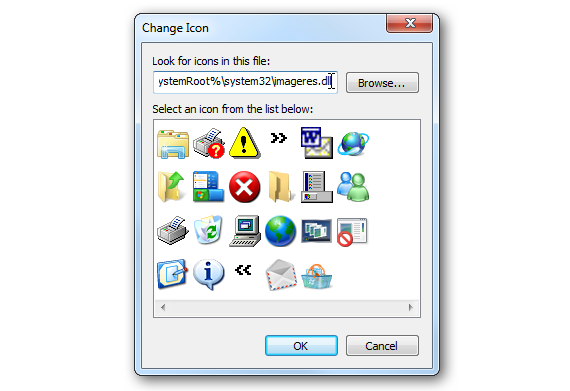
If we cannot see these icons, we recommend placing the following sentence next to the browser button that this window offers us:
% SystemRoot% system32imageres.dll
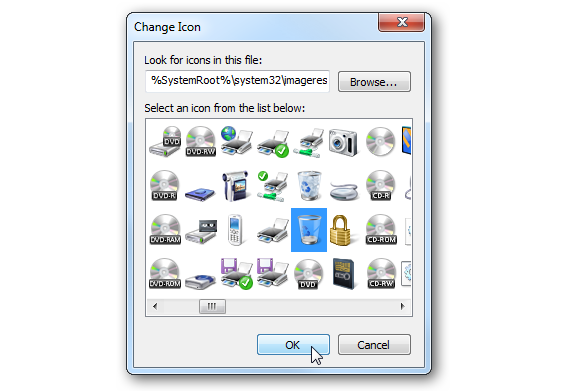
With the last sentence that we have previously placed, a large number of new icons will appear; there is the one that corresponds to the Recycling Bin, same that we must select and then accept by clicking OK in the window.
If we revisit the shortcut that we created previously, we will admire the change in shape, because now we already have the one that corresponds to this element.
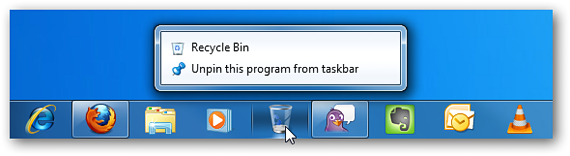
The final step is practically very close, since on the shortcut that we have created (and that belongs to the Recycle Bin) it will offer us a few additional options if we click with the right mouse button.
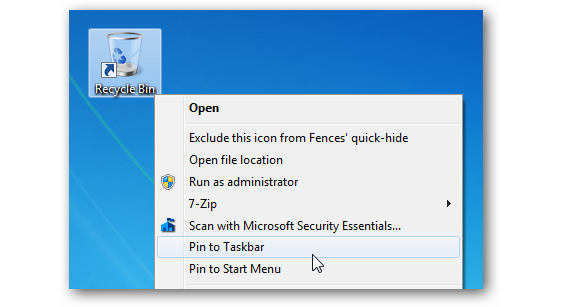
Among them, we only have to choose the one that says «pin to taskbar«; With this operation, our Recycling Bin will appear in the place we set out from the beginning.
Considerations
All the procedure that we have carried out has to be carried out step by step as suggested in the article. Pitifully there is no other way to locate the Recycle Bin on the taskbar; You can check this situation if you try to do the following operations:
- Drag to the Recycle Bin. You can select the Recycle Bin found on the Windows 7 desktop, having to later drag this item to the taskbar.
- Contextual menu of the Recycle Bin. You can also right-click on the original Recycle Bin icon to try to get the contextual options that we got in the last step of the procedure.
In either of the 2 cases you will be able to notice that The Recycle Bin is not added to this Taskbar environment.
More information - Context menu with Lammer Context, How to change shortcut icons in Windows 7