Firefox Sync is a tool that Mozilla has decided to keep in the most recent version and update of your browser, something that right now is much easier to handle and administer.
Even though Firefox Sync also It was present in previous versions, where an authorization code was needed to be able to synchronize different computers with the browser; What has been proposed in version 29, is a much easier task to follow, which requires only a few steps that we should execute on the computer and on our Android mobile device, which we will dedicate ourselves to doing in the Present article in a sequential and step-by-step manner.
Basic aspects to take into account with Firefox Sync
Firefox Sync is a tool that it comes installed natively in the Mozilla browser, which means that if before we update to version number 29 and subsequently, we recover the Firefox button and the classic view in general, this will not affect absolutely anything when looking for the option that will help us to use this tool.
On the other hand, the convenience of using Firefox Sync is quite great for those who want to have synchronized to your browser and a few elements of it, both on the computer and on your Android mobile device, be it a mobile phone or a tablet; In this regard, it is also worth bearing in mind that at the moment there is no way to perform this task on devices with iOS, a situation that according to Mozilla is due to certain restrictions that the Apple Store has placed and that for the moment, is not feasible sort out.
The procedure that we will suggest below estimates that the user has not previously registered their credentials in the service and therefore, it is completely new to it, which is why this tutorial is dedicated to those who are just starting out in Firefox Sync; In addition to this, the interface that the reader will be able to admire belongs to a modified Firefox, that is, one in which we restore the classic view, being able to follow the indicated procedure as we will show below since it, is based solely and exclusively on the selection of the three lines (hamburger icon) displayed in the upper right.
Create our first credentials in Firefox Sync
Now, we will start our procedure literally and graphically with the following steps:
- We run the Mozilla Firefox browser.
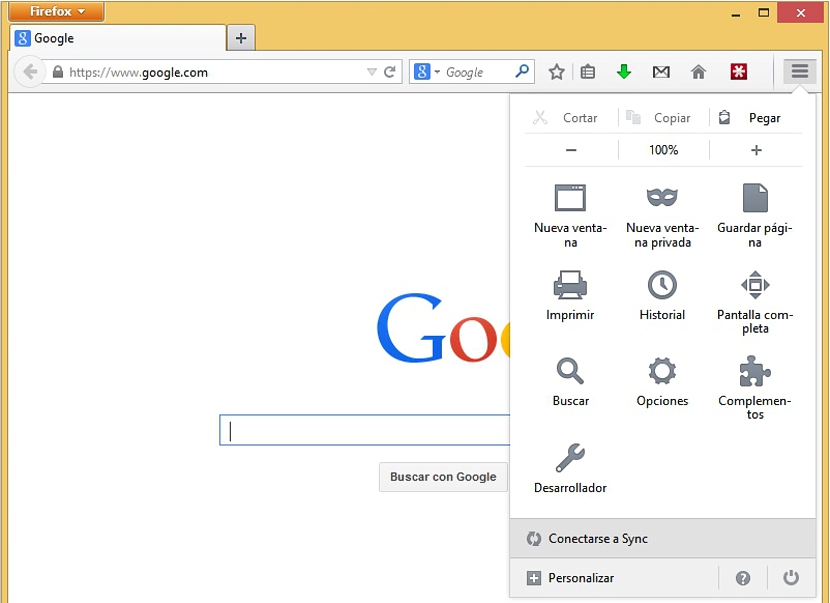
- We click on the three lines (hamburger icon) located in the upper right part of the browser.
- From the options shown we choose «connect to Sync«.
The new window that appears later, will not only be shown on our computer but also on the mobile device, although in this case it is necessary for us, at the same we will have to use it only when we want to link to the devices. For this reason, it is necessary that the user take it into account when we suggest this step. The only thing to do at this point is to click on the blue button that says «Contac us«.
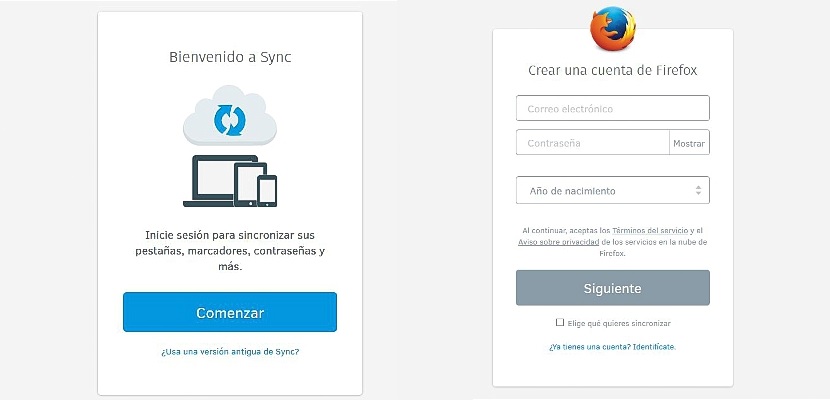
As if it were a small form, there we will have to fill in the data corresponding to:
- The email. It is preferable to place the one we use the most, regardless of whether it belongs to Gmail, Hotmail or Yahoo!
- Password. A different password will be placed here than our email.
- Year of birth. A list will appear to choose from, although if our year of birth is not present, Mozilla will suggest if said data belongs before 1990.
- Synchronize. At the bottom of the window there is a disabled box; We will have to mark it since later, our desire will be to synchronize our devices, which in this case, is the computer with a mobile phone.
After clicking on the blue button that says «siguiente»A new window will appear indicating that a confirmation message has been sent to the email we previously registered.
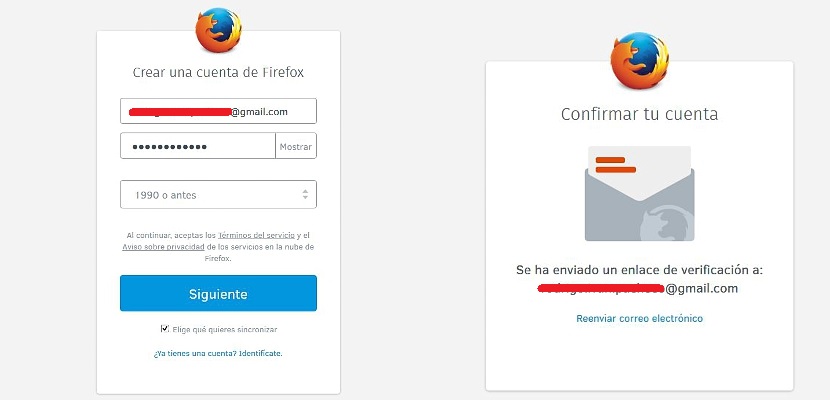
In the email we will also see a message with a verification window, which we must select to authorize the last part of the procedure in Firefox Sync.
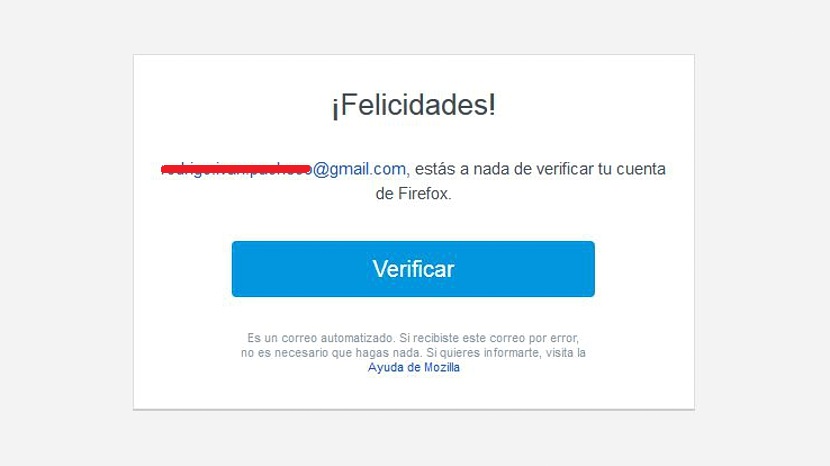
After we have clicked on the blue box that said «verify»In our email, we will immediately jump to another browser tab, in which it is suggested that the verification has been done successfully; Right there, we will also have the possibility to select all those characteristics and elements that we want to be kept synchronized both on the computer, our Android mobile device.
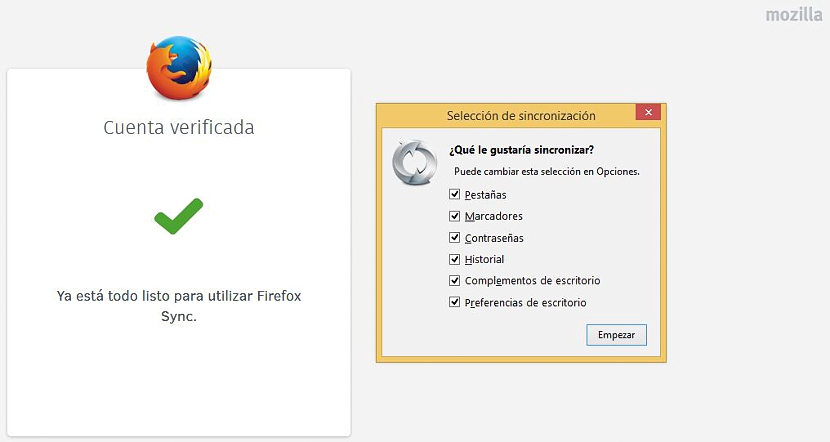
We can uncheck any of them if we do not want them to be present in this synchronization; finally, we just need to click on the button that says «Get Started»For the synchronization process to finish on the computer.
In the second part of our procedure, we must go to our Android mobile device (mobile phone or tablet) and enter the Firefox browser; If we don't have it installed, we just have to download and install it from the Google play Store.
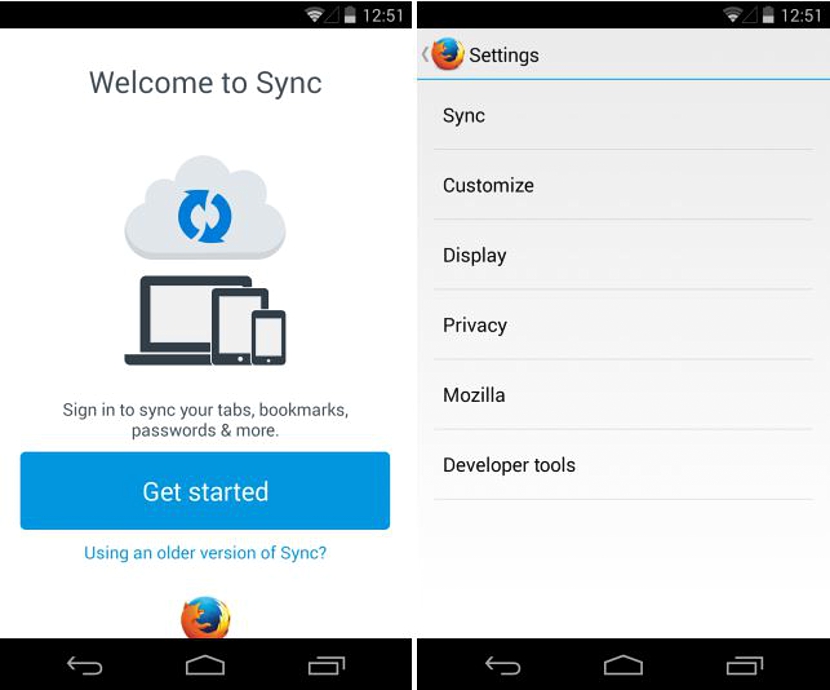
Here we must also look for the Firefox Sync option, using the button that says «Get Started»And that we suggest it at the top; In the window that appears, we will only have to put the credentials that we registered previously, that is, the email and the password for Firefox Sync. Remember that the password is not the same as our email but rather, the one we have registered for this service.

Once the process is finished, the same tabs, bookmarks, history and a few other elements that we have in Firefox and on our computer, will also appear on the mobile device.